Showing posts with label Decorating. Show all posts

Friday, November 16, 2012

Give Thanks Décor

Ginger Bowie at Ginger Snap Crafts came up with this cute and simple thanksgiving décor   This would look great in a home entry way, on a desk, the mantel or in the kitchen.  It's a simple reminder of the season and what it's about.  Giving thanks! 


Ginger used her PSA Essentials Vanilla Peel & Stick stamps for this project.  


Most importantly, she used her PSA Stamper with the stamps here to achieve crisp and clean impressions.  Our stamps do work great with acrylic blocks, but as you may know - acrylic block stamping relies on your hand pressure to achieve the perfect stamp.  It's hard to get it right.   With our stamper, getting it right is easy!   (You've seen the video... right?) 


See how crisp and clean Ginger stamps are here!  Now that's some good stamping! 


I am loving all of these seasonal, thanksgiving projects.  Are you? 


Thursday, October 25, 2012

Stamped Anniversary Candles


Are you in need of a wedding anniversary gift?   Grab two ivory, white or cream candles and stamp the couple’s initials and wedding date on them!   You’ll have a personalized and crafty gift in minutes.   Added bonuses:  this gift won’t break your bank and it’s incredibly thoughtful!


This idea comes to us from Ashley at Cherished Bliss.   She used stamps from PSA Vanilla Peel & Stick and her acrylic blocks.  When recreating, don’t worry about getting a “perfect” stamp here – you won’t likely achieve it and that’s okay!  That’s part of the character.   Be sure to rotate the stamp a little to get full coverage on the rounded surface. Then spray a thin layer of hairspray from a good distance, let dry and repeat about 3 times.  The couple is sure to be appreciative of this personal gift! 

Wednesday, October 24, 2012

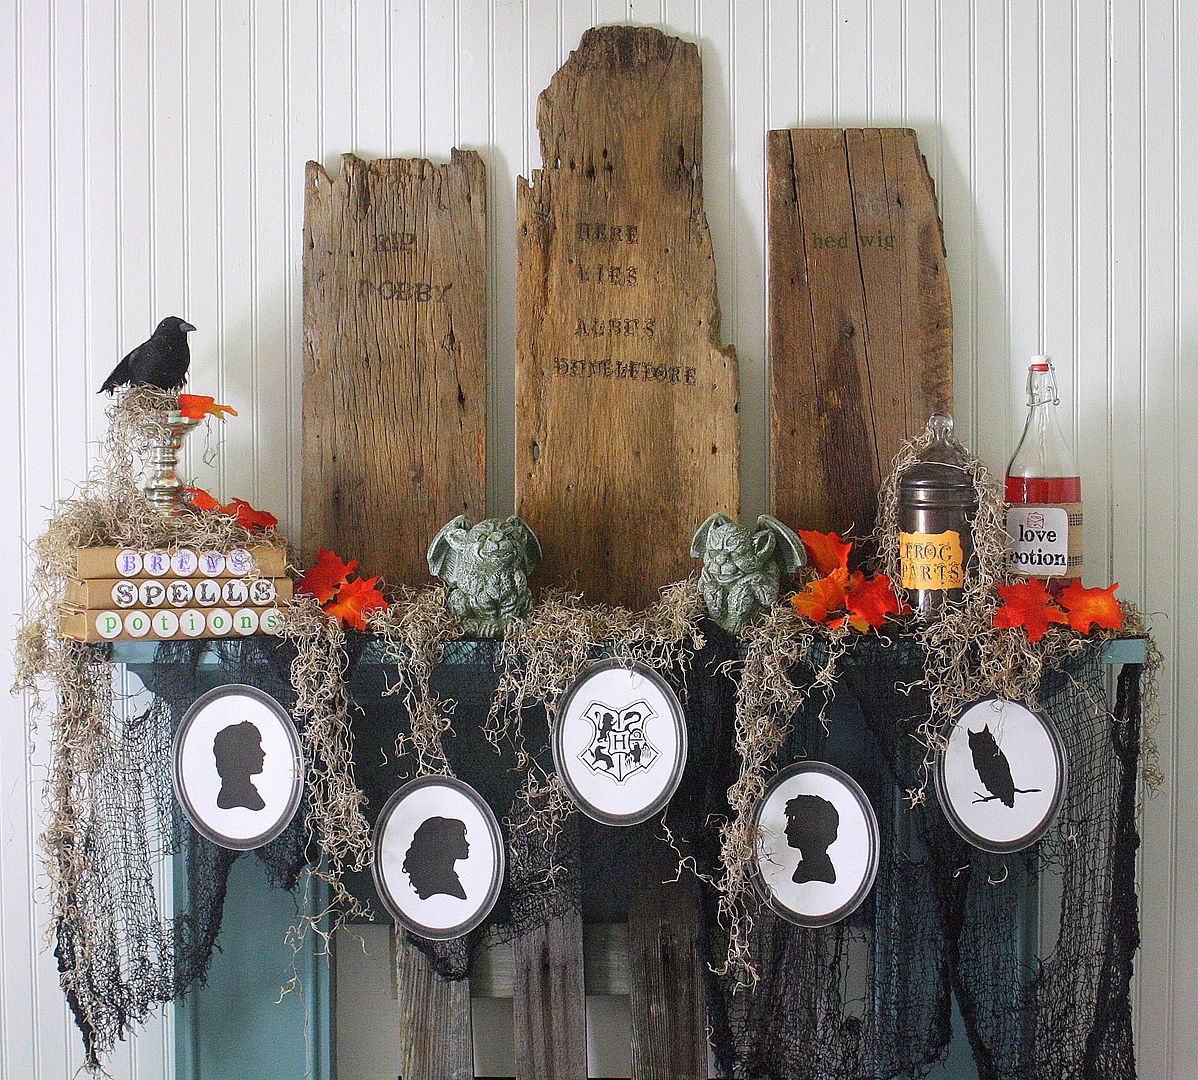
Harry Potter Halloween Mantel

How's this for Halloween festive?


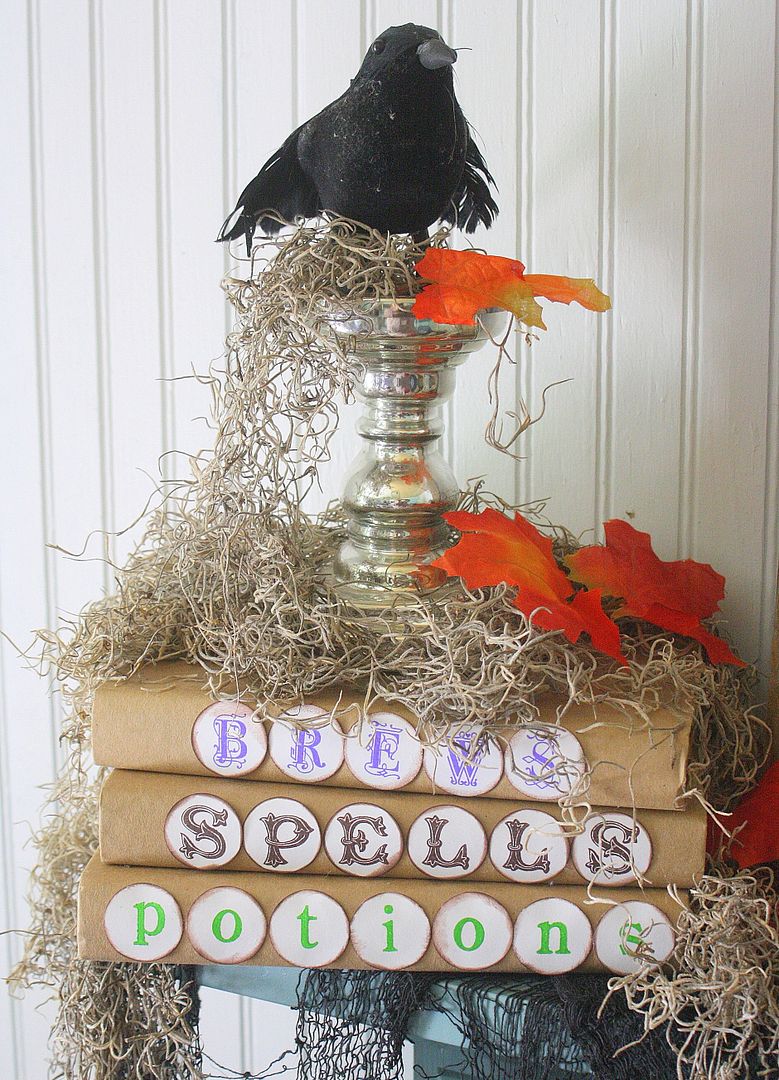
Gina at The Shabby Creek Cottage created a spooky masterpiece for her mantel inspired by Harry Potter!  She included "Brews, Spells and Potions" stamped using her PSA Stamper and Archive and Vanilla Peel & Stick packs.


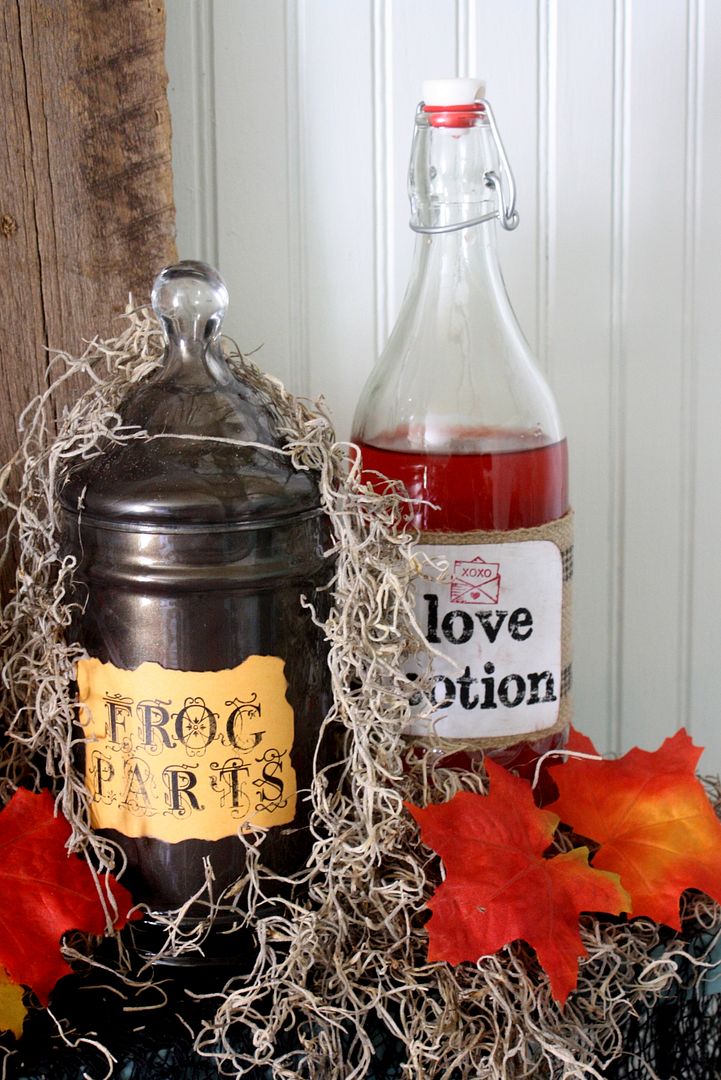
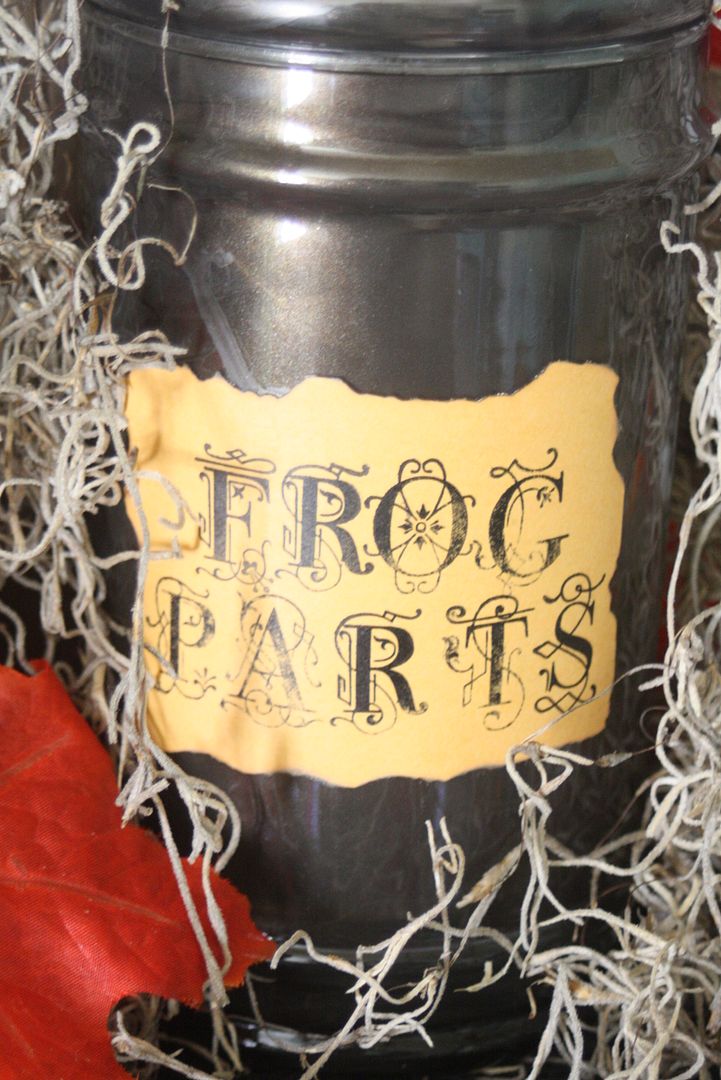
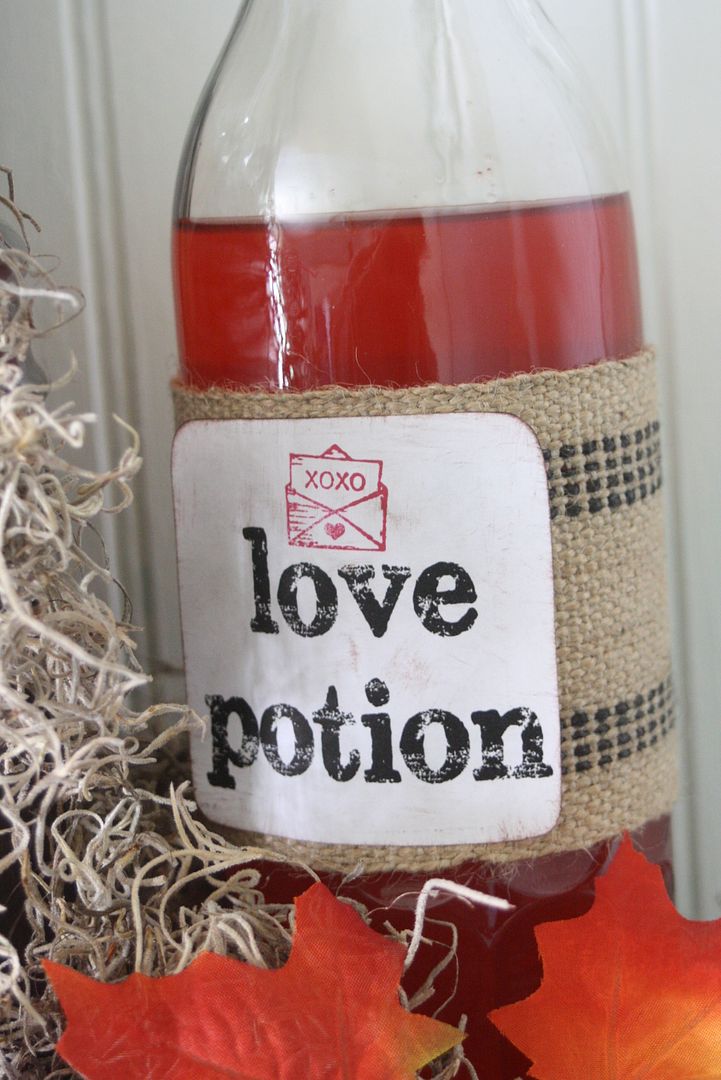
What spooky Harry Potter mantelpiece decor would be complete without Frog parts and a Love Potion? These were done in PSA Vanilla and PSA Romance Peel & Stick packs.


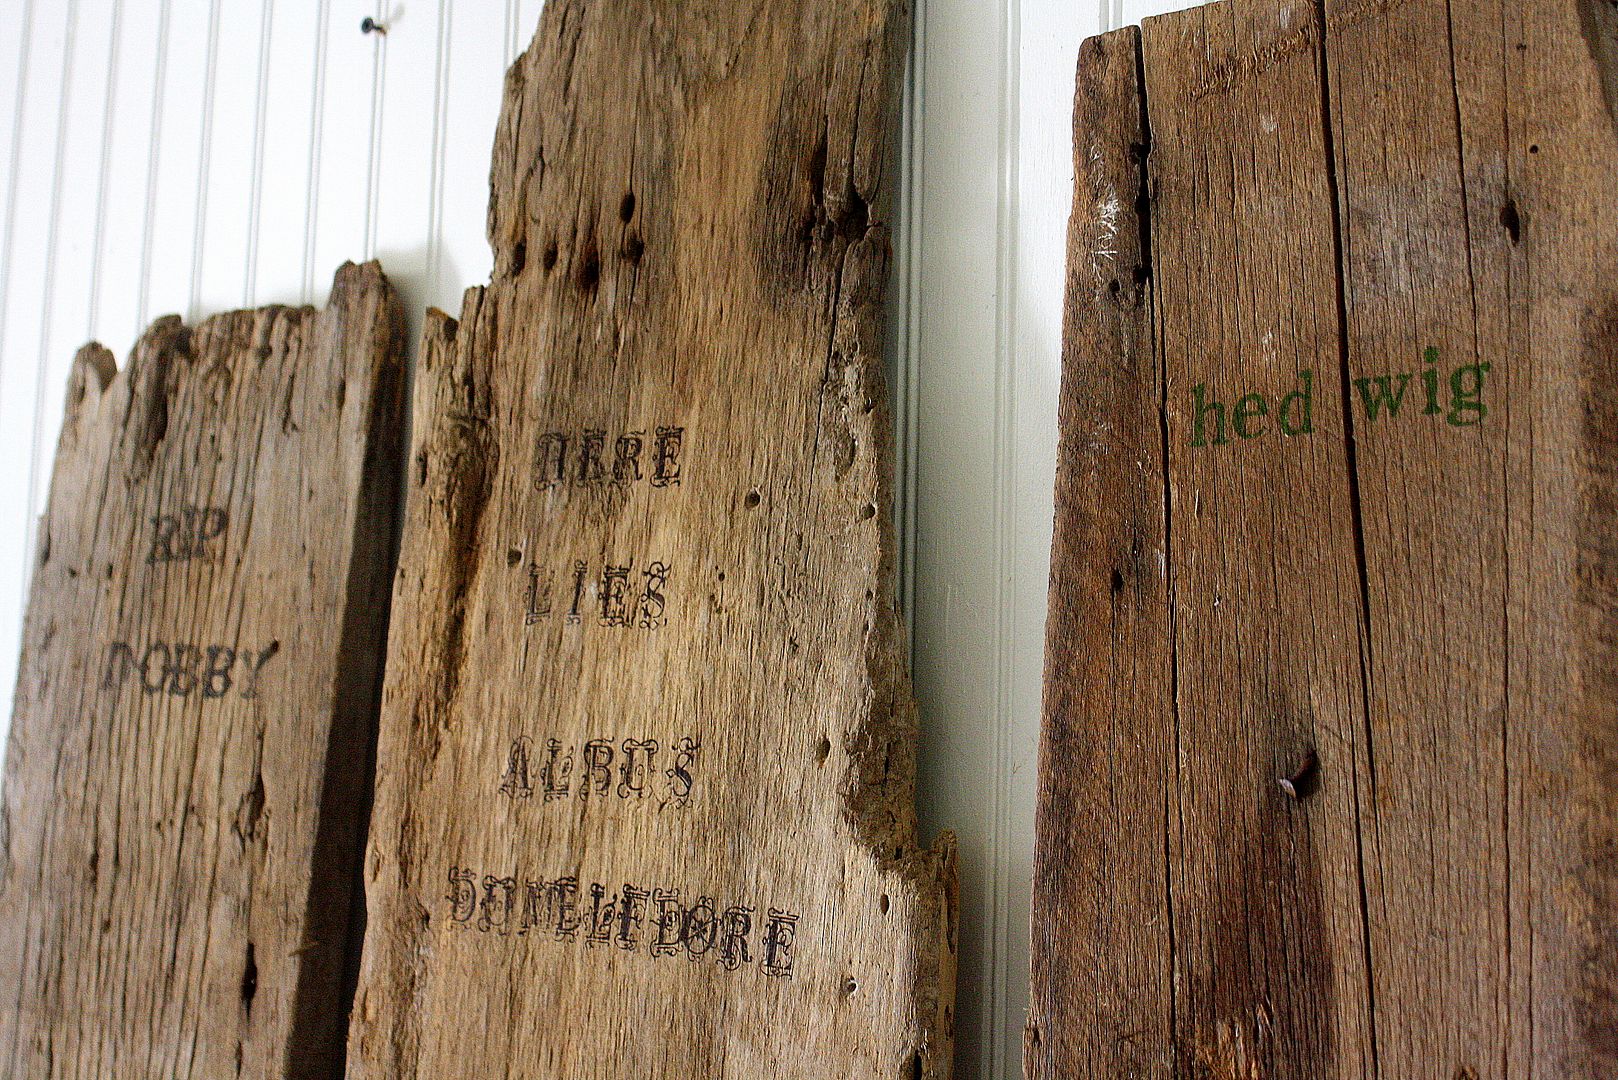
She used distressed wood and her PSA Vanilla, Romance and Archive Peel & Stick stamps for the background. 


Ta-da! 


Tuesday, October 23, 2012

Harvest Banner

I love a project that satisfies the following three criteria:

  1. Something that's recycled. (It's nice to be good to the earth.)  
  2. Something you can do with your kids.  (The more hours their occupied -- the better, right?)  
  3. Something that also looks great.   (Who needs a junked up craft?) 

Mae Armstrong's seasonal project captures all three things today! It's a Harvest Banner.   Mae's hung it from her fireplace mantel and it looks fabulous.


Mae's little boys painted to-go boxes with orange acrylic paint from their deli right by their house.  It was a perfect rainy day activity!  First, cut the box in half and trim the sharp edges before painting.


They used sponge for painting so it was quick and easy to do.  (I'm sorry to distract, but aren't they the cutest?) 


Dry for a few hours before decorating.


When dry,  hot glue some feathers.  Best to let Mom do this one.


Mae then added a decorative circle label. Next she stamped a wooden disc each to spell Harvest and glued it on the circle tag.   To spell it, Mae used PSA Essentials Archive  Peel and Stick stamp set.  Punch holes to attach decorated boxes onto a natural string.


Didn't this turn out festive?  


Thursday, October 18, 2012

Stamped Clay Tag

Today's idea was brought to us by Gina at The Shabby Creek Cottage.  It's a stamped clay tag -- a perfect table marker, house decoration, or gift for someone on their birthday or anniversary.   


The clay tag was made from baking soda, cornstarch and water - cook them all together to make a "clay."   Gina cut out the rounds just like making cookies, used a straw for a hole to thread through some ribbon, and baked it in the oven. Once it was all dry, she used  PSA Vanilla Peel & Stick stamps for the "9." 

This simple and elegant craft adds just a little extra touch to a bouquet or basket of flowers, doesn't it? 


Tuesday, October 9, 2012

Decorating with a birdcage

Birdcages have come back in style for decorating… or maybe they never left.    Gina from Shabby Chic Cottage is one of our newest design team members and decided to incorporate the trend (or timeless classic… I still can’t decide) with her PSA Essentials stamps.   She stamped “Love” from PSA Love Birds Peel & Stick stamps onto canvas then sewed it onto burlap that was trimmed out as a bird.    It’s an added touch to a beautiful decoration!   How simple and elegant.


Check out these great decorating ideas using birdcages.  These are funky, aren’t they?   

(Photo credit: http://www.houzz.com/photos/39587/The-Old-Painted-Cottage-traditional-living-room-los-angeles)

For use as a photo holder here! 

(Photo credit: http://www.lovelyundergrad.com/2010/08/dorm-make-over.html)


And how about this to die for vintage room for a little girl? 

(Photo credit:  http://pinterest.com/pin/189925309255044044/)

The birdcage does add that vintage feel, doesn’t it?  

Thursday, September 20, 2012

Fall Banner

This Saturday is the first official day of fall.  Welcome Fall!  Cooler weather, falling leaves, football season, school in session, shorter days, and the holidays approaching – all things that I love about fall.   Second to Spring, it’s my favorite season.    There’s a lot of fun decorating you can do for this season, the colors are warm and inviting and a little bit of decorating can make nesting season fun.    Here’s a great idea by Ashley at Cherished Bliss, it’s a banner that can be hung on your mantel above your fireplace, from a window, a doorway, or just about anywhere!


Ashley has used the PSA Essentials Archive Peel & Stick collection to spell “Fall.”    She’s stamped with her PSA Stamper using black ink on canvas.   Turned out great!  Do you want to make this? Here’s a quick tutorial.   You will need:

·         Scrap piece of canvas material
·         Baker's twine
·         Cheesecloth
·         Yarn
·         PSA Essentials Archive Peel & Stick stamps

And the following tools:

·         Hot glue gun
·         Scissors
·         Orange fabric dye (optional)
·         PSA Stamper with black ink

Cut out the canvas pennants and stamp the letters "FALL".   Then glue baker's twine on the corners of each pennant.   


Ashley took a dyed cheesecloth and cut a strip a little shorter than the banner so it would drape.  Then cut two pieces of yarn and tie it all together on the ends. 


A quick and relatively easy project, this just may be the thing you need to welcome fall in your household!


Thursday, July 12, 2012

40th Birthday by Mae Armstrong


Our design team member Mae Armstrong threw a 40th birthday party for her husband that blew mine out of the water.  Not that it’s a competition, but I am really jealous.   What a great party she threw!  Complete with a pig roast, and a “Canadian meets North Carolina” backyard bash theme, Mae spent hours crafting and making the party extra special.   She did all the food (with some help from friends and family.)  A common thread in everything she designed and created?  Her PSA Essentials custom stamp.   The stamp was the heart of all the creativity!   

Up first, this handmade, DIY wreath.  


Mae decorated with red and brown paper fans.  She also created red and white striped paper fans with a maple leaf accent.   Her in-laws helped her find these old pictures of her husband, and she had them blown up to decorate the table with.   I just love this idea!  It gives it such a personal touch. 


Mae baked some chocolate cake cupcakes topped with salted caramel butter cream frosting.  She created these maple leaf cupcake toppers using her custom designed PSA Essentials birthday stamp.


The bar displayed a row of dressed up mason jars.  She used another custom PSA Essentials birthday stamp, check it out.


Mae created felt koozies and dressed up beer bottles. Here's a bottle of Molson Canadian beer. Cheers!


She found these super cute containers at Target to keep our mixers nice and pretty.   Love the simple label around the bottle.


Mae and her amazing friends and family did all the cooking at home – this was not a catered party!


Mae was able to score these amazing picnic tables from Page Farms, just 3 minutes from her house.  This really helped make the party a big success – seating for everyone!  She used butcher paper for the table cloth, which was a great idea with the pig roast and backyard cookout food.   It can get messy!


To go with the theme, she packed plastic ware inside craft bags.  She stamped each bag with her custom PSA Essentials stamp that she designed for the party.


Here are the guests enjoying the pig roast.   Looks like everyone is having a great time!


Mae even surprised her husband Mark by having almost his entire family and closest friends from Canada, Salt Lake City and Baltimore.   Is this the cutest couple, or what?


What an amazing backyard birthday bash.

Monday, July 9, 2012

Repurposed Materials


Talk about being resourceful!   Today I am sharing an idea by Angie Holden that you can recreate from supplies found in your home.   No trip to Michael’s or Joann’s necessary.   They’re inspirational candles made from medical tape and old tea glasses.   She’s stamped “light the way” and “let it shine” from PSA Vanilla Peel & Stick stamps using her Cabernet ink and Black inks by PSA Essentials.   This is a fun and easy craft that you can do very inexpensively.


Some tips:  Be sure to spray the stamp with hairspray directly after stamping.  This helps set the stamp.   If you don’t mind the vintage look (that’s what I love about it) then you won’t mind if each letter doesn’t come out perfectly.   Be sure to wrap the medical tape below the glass – no fires please!  I can really see this working for Halloween, can’t you?    

Tuesday, June 19, 2012

Pool Noodle Wreath Tutorial


Have you ever tried making a wreath from a pool noodle?  This cool idea is brought to us by Mae Armstrong, via Pinterest.


You can purchase pool noodles at your local Walmart or Target.   They're convenient to have for summer fun plus it's great to keep a bunch of them on hand for future wreath projects! Join the ends with silicone glue and use a painters tape to secure. Hold the ends together until the glue dries. The tape helps and it only takes about a minute.  Now wrap yarn around the pool noodle wreath.


Make sure it's completely covered. Mae likes doing this project when she’s catching up with recorded TV shoes!  Set aside and cut out the number. She used a shipping box. It's thick enough for wrapping yarn around it. 


 Wrap the coordinating yarn around the number and glue ends.  


She’s using a custom made PSA Essential stamp for this project. She designed this beautiful logo for her twin’s cookies and milk 2nd birthday party and had it made at PSA Essentials. You can have anything made into a custom stamp – just ask your local PSA dealer!  


She chose sepia ink and stamped a bunch of logos on a piece of ivory card stock. She used her sizzix circle die to cut the logo for the mini wreath pennant. Glue circle logo tags on pre-cut banners. Punch holes and thread yarn through.


 Attach banner on top of the wreath and add the number two. 


She also added a ribbon pinwheel to the design.  


All done and ready for the cookies and milk festivities! Check out all the other related posts of this great party!