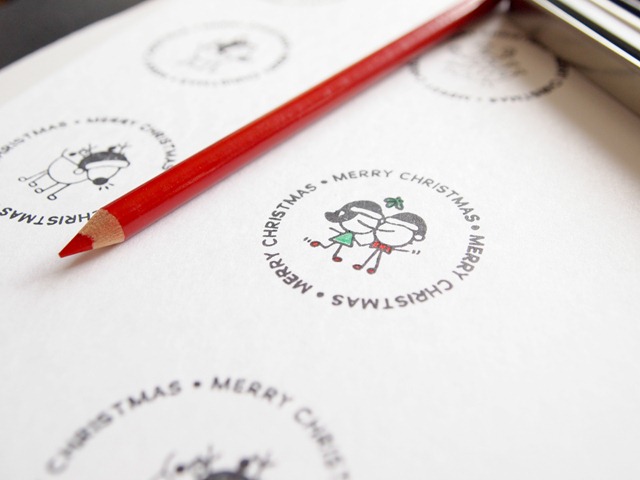
Last week I shared Mae Armstrong's Embroidery Hoop Christmas Wreath. In doing this project, she realized that she had a lot of extra fabric, so she came up with idea to also do some ornaments. This project is festive, fun and personalized: she used her Gigi Monogram Peel & Stick stamps by PSA Essentials.
The fonts on these Monogram sets really are fun! She stamped the "A" onto wooden discs to be the center of the ornaments.
Using her Big Shot, Mae selected a circle die to help her with the fabric pinwheel production. It was a truly a great way of cutting all the
fabrics she needed. You'll need five circles to complete one pinwheel.
To assemble the pinwheel start by folding the circle in
half. (This is exactly the same way she assembled the pinwheels for the embroidery hoop!)
Then fold into a cone shape making sure the edges meet. Secure with glue and
begin with the rest of the of the remaining pre-cut fabric. Mae suggests cutting all the circles in one batch and
the rest of the process gets really easy.
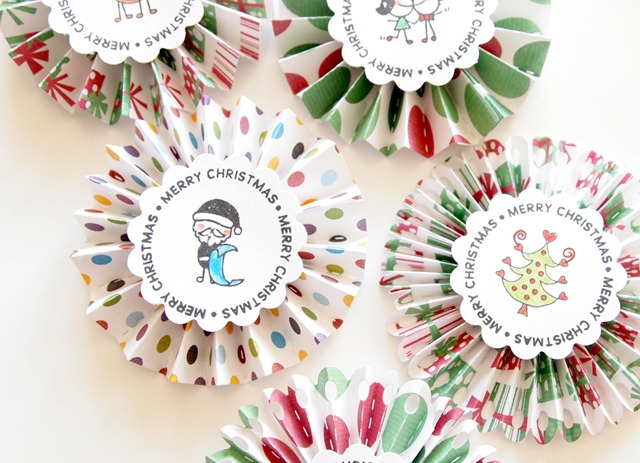
Arrange the folded pieces to make a circle. Glue the stamped
wooden disc.
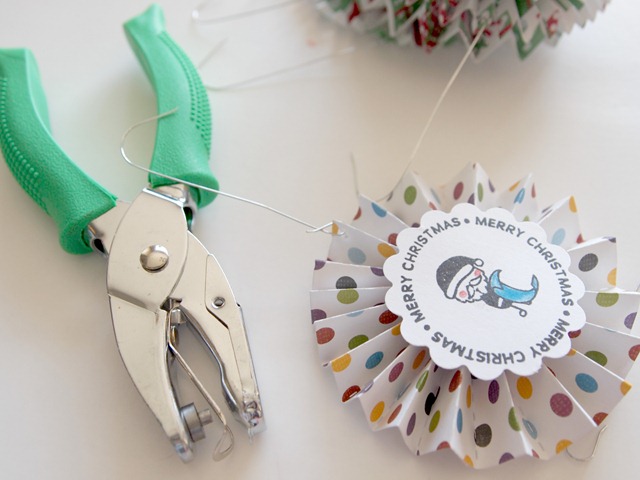
Attach a stretchy gold string and that's it!
Try making different sets for friends, family, teacher gifts or a
fun gift tag for the Christmas!