Monday, February 11, 2013

Chinese New Year


It's the start of the new year according to the Chinese lunisolar calendar!  Chinese New Year always falls in the months of January or February, this year it's February 10th/11th.  Each Chinese new year is represented by 1 of the 12 creatures of the Chinese Zodiac: 2012 was the year of the Dragon, 2013 is the year of the Snake!   


Some of this I know from my 3 year old daughter who has been studying China for the last month at May River Montessori.    Today she was supposed to wear red and gold as a symbol of good luck.  As she proclaimed to her teacher getting out of the car: gold is on my Rapunzel underwear.  I am wearing just red on the outside.


(Photo side note:  I am practicing with my {newish} Nikon 50 mm lense on my D3100 camera. If this looks out of focus to you, it is not your eyes...Still practicing...) 

At school they've been working on creating lanterns and practicing "a dragon dance."  Today is the big day to do the dance, Molly was so excited.   I wish I had some time to really do some crafty things for the kids, I would have used our Asian Symbols Peel & Stick stamps.  

Regina Mangum used these and the Asian Icon Peel & Stick stamps in this beautiful card for the New Year. 


These stamps are available exclusively at Smithsonian Museum Store online!  Head on over there to get yours now. 


The most important element of Chinese New Year is the reunion dinner which is held on the eve of the New Year.  Traditionally, the reunion dinner spread is lavish, with multiple courses including dishes of chicken, pork and fish.  I am so excited to cook a feast tonight that includes noodles.  If you haven't already seen Mae Armstrong's cute chopsticks for the New Year - check them out!  They'd be perfect for my dinner tonight! 


2013 year of Snake is meant for steady progress and attention to detail.  Having focus and discipline will be necessary this year according to Chinese culture.  May it be a good year for you! 

Thursday, February 7, 2013

Free Gift With Purchase

There are some good deals on PSA Essentials right now and I am here to alert you to one REALLY fabulous one!  This one is for everyone that's really been wanting a stamp and wanting Peel & Stick packs, too.. 

Right now you can buy a personalized stamp at Rossomer Square and get a FREE HAPPY HOLIDAYS PEEL & STICK pack.  It's totally free with stamp purchase!  That's a $55 value for just $26.50. 


So what stamp style are you going to choose?  Will it be the best-selling Wallace


Will it be Dashwood


Will it be Cipher Deluxe? 


Whichever you choose, Happy Holidays Peel & Stick pack is YOURS for FREE!  Head on over to Rossomer Square now. 


Baby Announcement

No, not me!!

Our designer Ashley Thurman at Cherished Bliss is pregnant and this is how she decided to share the news:


How adorable!  She stamped the letters "b" "a" "b" and "y" using her Vanilla Peel & Stick stamps and her PSA Stamper loaded with black ink.  She stamped onto white paper, cut out using her punches and threaded onto string.  The photo is super cute and worth sharing with friends, family, blog followers, fans and more!

What other great ideas do you have for announcing pregnancy to family and friends?

Wednesday, February 6, 2013

Lots of Hearts - Kids Craft

Every holiday is an opportunity for my 3 year old daughter Molly and I to do some crafting.  Valentine's Day is a really fun one to do!  With all the pink, red, and white, hearts, doilies, lips, ribbon, sweet and frilly things, my "girlie-girl" daughter is in heaven.   We created a lot of hearts garland to decorate the house this weekend!


First we started off with pre-cut hearts in pink, red and white found at Michael's.  Then, we stamped using our PSA Love Birds Peel & Stick pack, the "xoxo" letter stamp and black ink loaded in our stamper.  We also stamped the lips in holiday red ink from PSA Frenchie.   


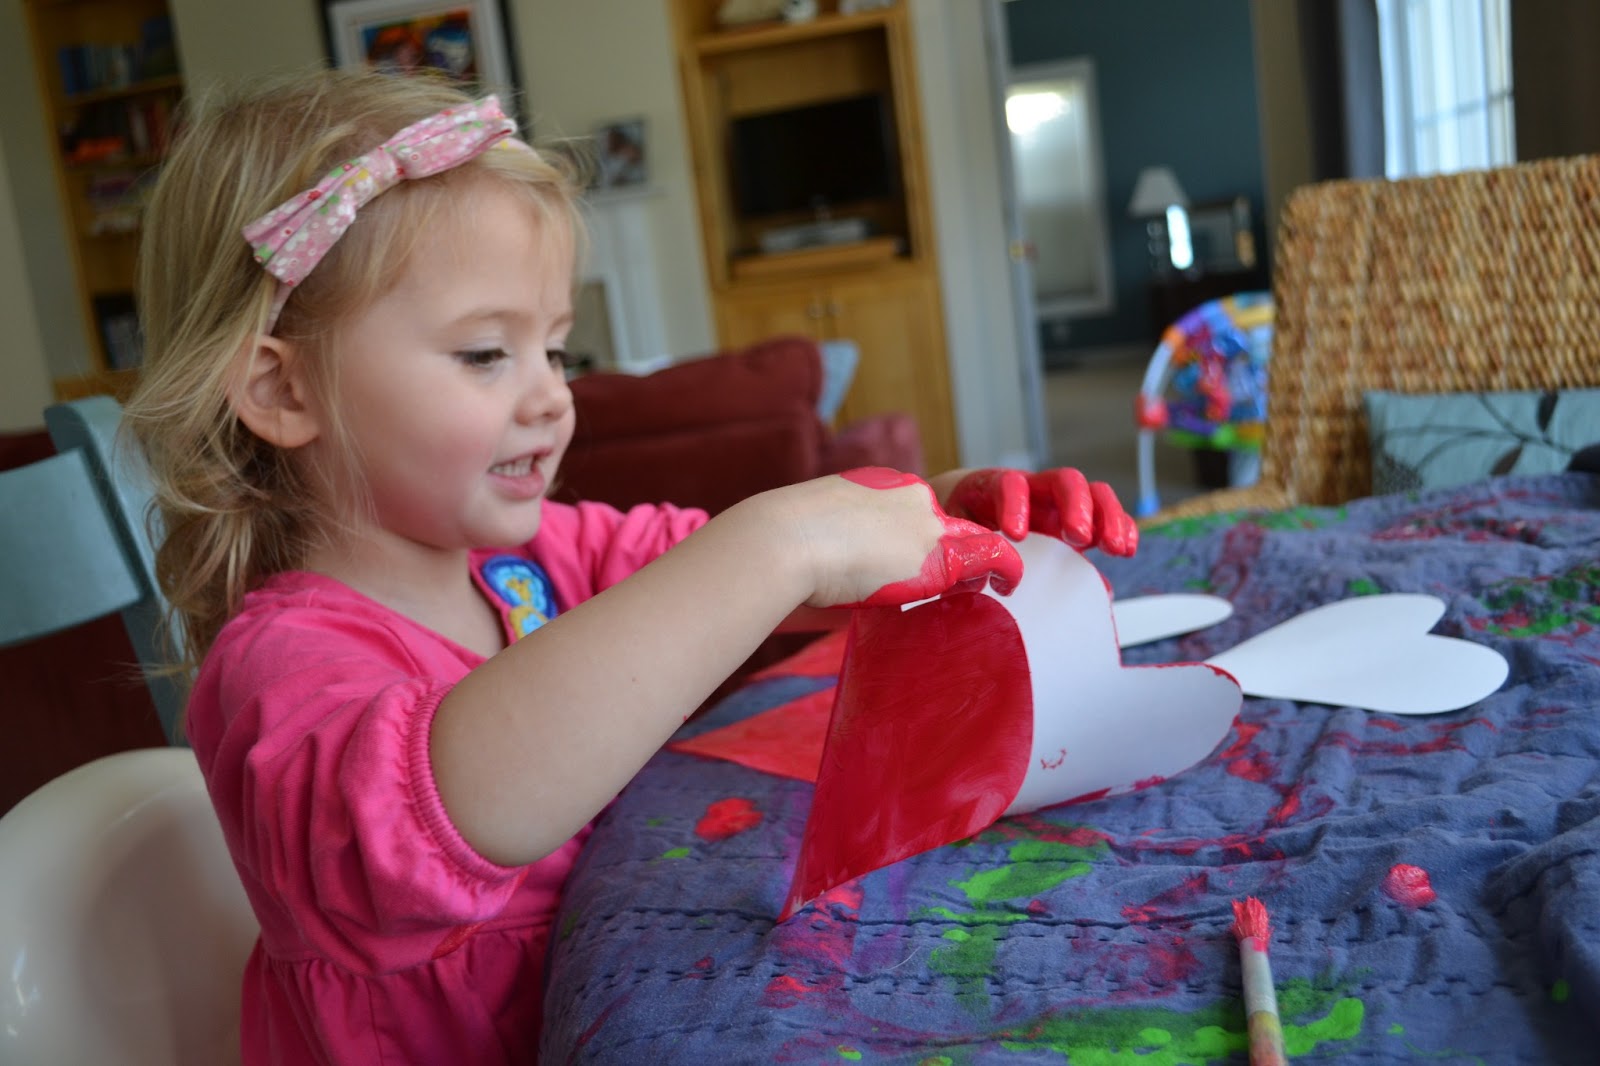
Up next, we did some painting.  Turned out to be finger painting.


After we cleaned our hands, Molly got to work with some heart stickers and rhinestones. 


When everything was dry, I threaded the hearts using my twine from The Twinery into 5 different length strings to hang vertically on the windows. 


Molly is starting to become a real artist, too.  Check out her "person" on one of the hearts. 


This project was easy and fun to do with my 3-year old! Doesn't look too shabby hanging - in a "my kid did it sort of way" - does it? 


Tuesday, February 5, 2013

Be Mine Garland

PSA Romance Peel & Stick pack sure is getting a lot attention around Valentine's Day!  The name says it all, doesn't it?


Ginger Bowie at Ginger Snap Crafts made a "Be Mine" vintage garland using her Romance alphabet Peel & Stick packs.  


Ginger stamped onto patterned paper, punched out with her scallop punch and adhered to mason jar lids.  Then she strung them together.  Quick.  Easy. Festive! 


Monday, February 4, 2013

Magnetic Dishwasher Sign


Are the dishes in the dishwasher clean or dirty?  It's a never ending question in my household - in many households - and in Mae Armstrong's, too.   Being that she's crafty, got a knack for design, and an organized momma, she came up with a solution to share.  It's a magnetic "Clean" sign!   Stick it on as soon as you've run the dishwasher.  Take it off just after you've unloaded it.

Dishwasher - Magnetic Sign

Mae picked up wooden craft boards at Michael's and used her PSA Essentials Archive Peel & Stick stamps.   She choose the rooster stamp from the PSA Country Home Peel & Stick stamp set, too.  She added a vintage spoon stamp from my stamp collection.  (LOVE THIS Vintage Spoon!) 

To replicate, plan the letters and stamp away.  Then add four magnets on the back of the board.

 Dishwasher - Magnetic Sign

What a simple, fast and usable project! 

Dishwasher - Magnetic Sign2

I can see different ideas for this project already... 

Dishwasher - Magnetic Sign3

Dishwasher - Magnetic Sign4

Friday, February 1, 2013

DIY Art Kit


Mae Armstrong is one crafty momma with great ideas to keep her little ones entertained and her own creative brain busy.   She made a kids art kit for her twin boys, perfect to keep them busy at a restaurant, on a plane when traveling, or just around the house.    She chose a bold black and white elephant fabric and a fun red and white polka dot fabric to hold everything inside.   When it was done she filled it with a composition notebook, crayons, and their sign language flash cards.  


To make each one personalized and their own, she used a light canvas fabric to stamp their names.  She stamped “Will” and “Ryan” using PSA Essentials Peel and Stick Vanilla Peel & Stick stamps.  It was the perfect style for this project.


She used a composition notebook as her guide in creating the art kit organizer.  She used the main fabric and sewed it inside out and turned it over.  Then ironed out the main fabric and sewed folded ends neatly.


After she folded the base fabric in three sections, she pinned the size that required sewing.


She prepared the accent fabric for the outer inside pocket.  Using the pins as her guide, she marked down the spaces for the crayon holder and left some space for a pocket. She sewed it down and removed the pins as she went along. 


She used a black Velcro to match the project and pinned it down for easy sewing. 


After sewing the entire organizer, she cut the stamped canvas down to the size of a business card and pinned the fabric on the main front flap.   She sewed it and trimmed extra thread.


Here’s how it turned out inside:  


And here’s how it turned out on the outside:


I think it's a hit…  Will & Ryan (seen here) seem to be loving it!  What a great idea, Mae – thanks for sharing it with us.